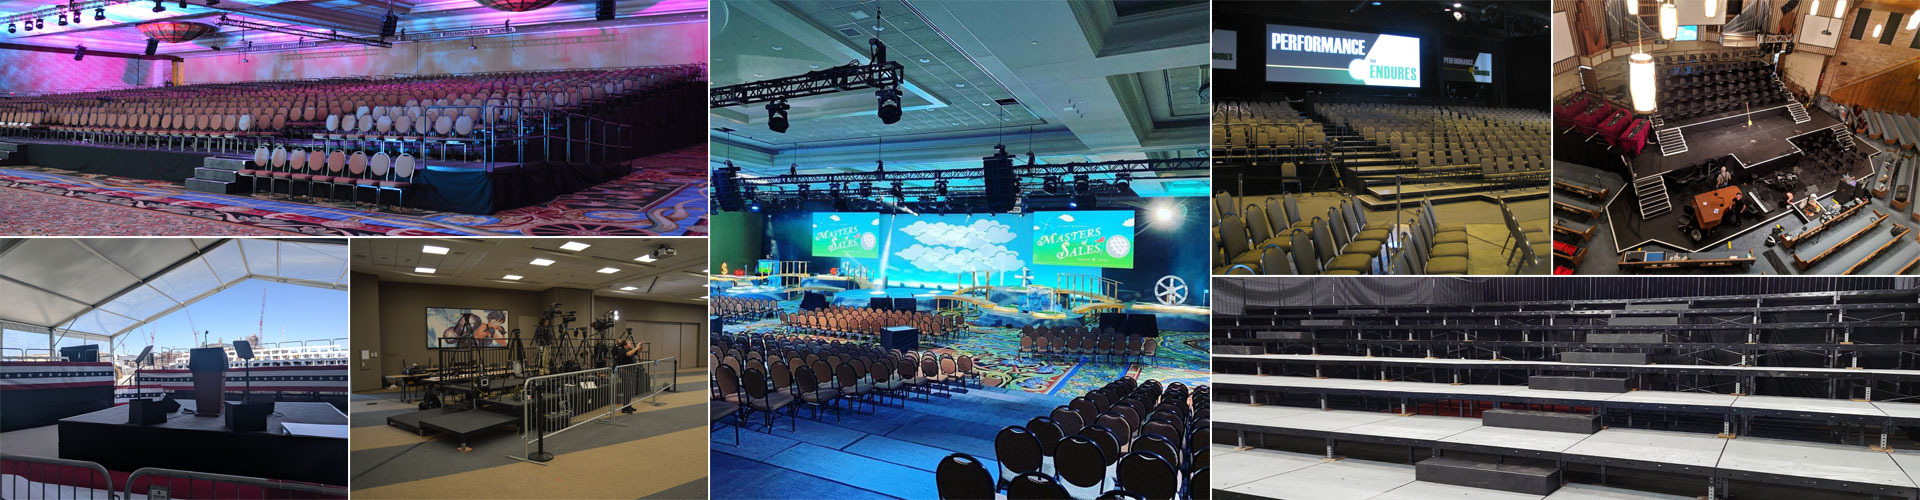
A Personal Experience With Event Set-Up
After being scheduled an evening set up in one of the Gaylord ballrooms, I prepared myself for an evening of hard work and excitement. The set up that we were doing included custom risers and staging for a large private event. I was a bit nervous being a newbie to the stagehand world but was comforted when I arrived at the site and met the leaders who were passionate and experienced in this type of work. I was patiently walked through each step along the way and learned many things about the unseen world of set up for all of the fun events I love to attend.
How We Prepared for Set Up
 Once we arrived at the venue our team looked over the blueprints for the risers and marked the placement of each piece on the floor. Since the venue had carpet, our second step was laying of Carpet Protection Tape to the floor before unloading. This was done to ensure that there was no damage to the carpet during load, set up, or unload for this event. Carpet Protection Tape comes in large rolls and was placed sticky side down before being rolled across the carpet to cover desired areas.
Before starting to set up the risers, all trucks were unloaded and organized to allow fast and efficient set up of the risers. After unloading was complete our staff split up and started working on their assigned tasks. One group checked the height of each steel leg that was going to be used to build the risers. This was done by counting how many holes were showing and ensuring that the screw and bolt were in the correct hole for the needed height. Size and length of each piece were checked before the screw and bolt were inserted into the second to last hole. Placing the screw and bolt into the second hole strengthens the leg by leaving extra support around the connecting point. Wood shims were placed on the floor, where each leg that will be inserted into the pocket of a staging piece would be, to level the risers on the carpeted area and to protect the carpet.
Once we arrived at the venue our team looked over the blueprints for the risers and marked the placement of each piece on the floor. Since the venue had carpet, our second step was laying of Carpet Protection Tape to the floor before unloading. This was done to ensure that there was no damage to the carpet during load, set up, or unload for this event. Carpet Protection Tape comes in large rolls and was placed sticky side down before being rolled across the carpet to cover desired areas.
Before starting to set up the risers, all trucks were unloaded and organized to allow fast and efficient set up of the risers. After unloading was complete our staff split up and started working on their assigned tasks. One group checked the height of each steel leg that was going to be used to build the risers. This was done by counting how many holes were showing and ensuring that the screw and bolt were in the correct hole for the needed height. Size and length of each piece were checked before the screw and bolt were inserted into the second to last hole. Placing the screw and bolt into the second hole strengthens the leg by leaving extra support around the connecting point. Wood shims were placed on the floor, where each leg that will be inserted into the pocket of a staging piece would be, to level the risers on the carpeted area and to protect the carpet.
Steps Taken to Begin Riser Set Up
 As a few people prepared to place the steel legs into the pockets of the Bil-Jax staging pieces, another group of people were responsible for unloading and placing the Bil-Jax staging pieces. Each staging piece must have connecting ends placed together for the stage pieces to ensure they hold together and lock. Once the staging pieces were placed, someone got on top of the staging and locked them into place by turning the roto lock inside the staging pieces until it locked into place with the one being connected. All bolts were tightened and spaces between riser levels were checked for levelness and desired height. After the risers were set up, our staff attached steel cross braces to the steel legs ensuring the stability of the risers. These were placed on every other leg facing both directions of the stage.
Final Touches to Risers
 After all of the stage pieces were in place, locked, and had the attached cross braces, a double-sided tape was added to the riser for a precut carpet to be laid. Back and side rails were then added to ensure that the risers met ADA guidelines. All extra materials were then packed up and taken back to the trucks, leaving the floor space clear, clean, and ready for use.
By the time we finished this set up I was already excited about what the next one would be like. I never realized how hard people work to ensure a safe set up for all kinds of events. I left with sore feet and shoulders from pulling heavy stacks of staging from the dock into the elevator and then down the halls into the ballroom. My hands were hurting from unscrewing and re-screwing the bolts for each leg used for the stage and risers at this event, but I could not help but feel a great sense of accomplishment. I gained a lot of understanding and respect for stage and riser set up, along with the people who dedicate their time to providing safe and beautiful stages and risers for people’s events.
After all of the stage pieces were in place, locked, and had the attached cross braces, a double-sided tape was added to the riser for a precut carpet to be laid. Back and side rails were then added to ensure that the risers met ADA guidelines. All extra materials were then packed up and taken back to the trucks, leaving the floor space clear, clean, and ready for use.
By the time we finished this set up I was already excited about what the next one would be like. I never realized how hard people work to ensure a safe set up for all kinds of events. I left with sore feet and shoulders from pulling heavy stacks of staging from the dock into the elevator and then down the halls into the ballroom. My hands were hurting from unscrewing and re-screwing the bolts for each leg used for the stage and risers at this event, but I could not help but feel a great sense of accomplishment. I gained a lot of understanding and respect for stage and riser set up, along with the people who dedicate their time to providing safe and beautiful stages and risers for people’s events.